Since Smart Parcel Box launched in 2015, we’ve had around 30,000 delivery boxes sold across the UK and Europe. Fitting and customising these boxes often come with their own kind of questions, and so we thought we’d answer them all in one convenient place.
Fitting Your Delivery Box
One of the most often asked questions when fitting the Smart Parcel Box to the wall or the floor, is about a drilling template. While these aren’t currently included with our boxes, here’s a quick and easy way you can make your own template.
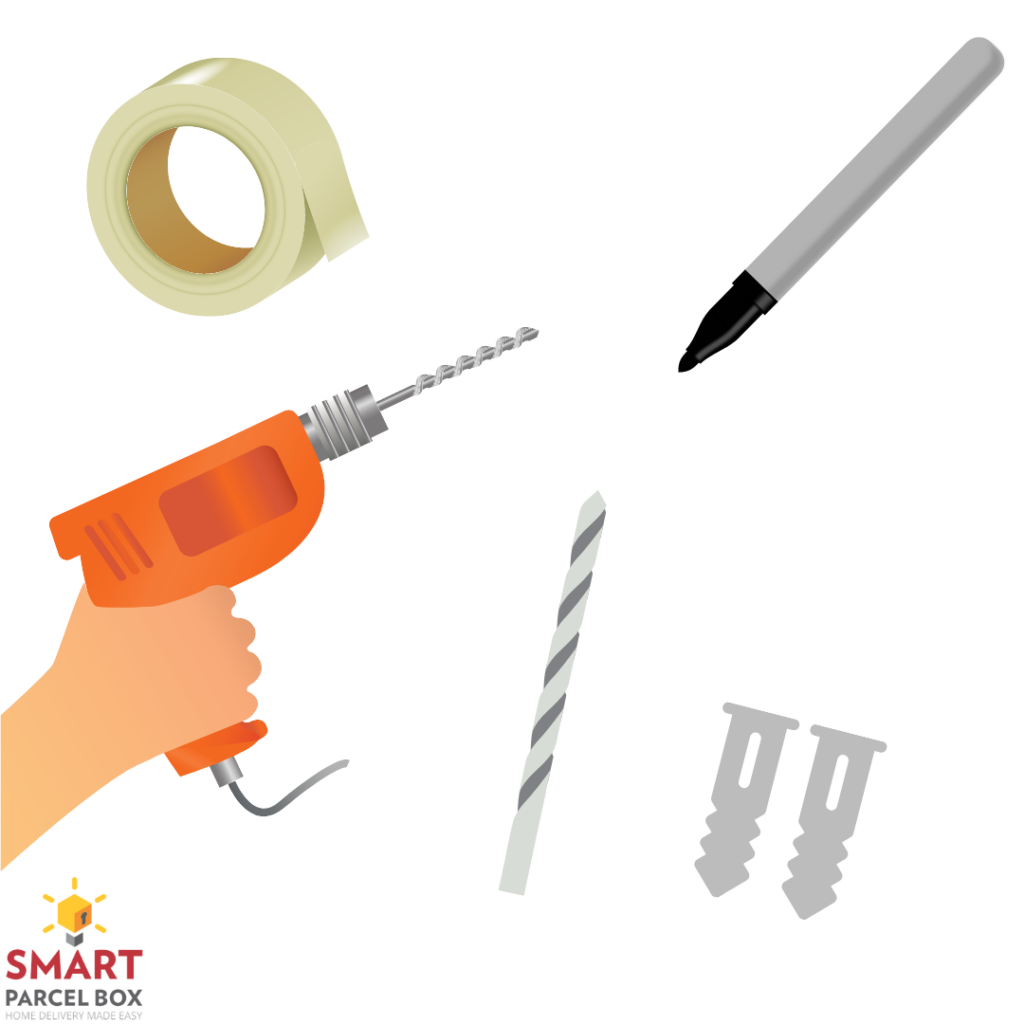
You’ll need:
– Duct tape
– A marker
– A drill
– A drill bit to suit the wall or floor (i.e: a masonry bit if fitting to a brick outer wall)
– Wall plugs to suit the wall type
– A towel large enough to cover the front of your parcel box
If you have a medium parcel box you’d like to fit next to your door, we recommend putting these at shoulder height to avoid strain on your back when collecting parcels.
Fitting to a Wall or Floor
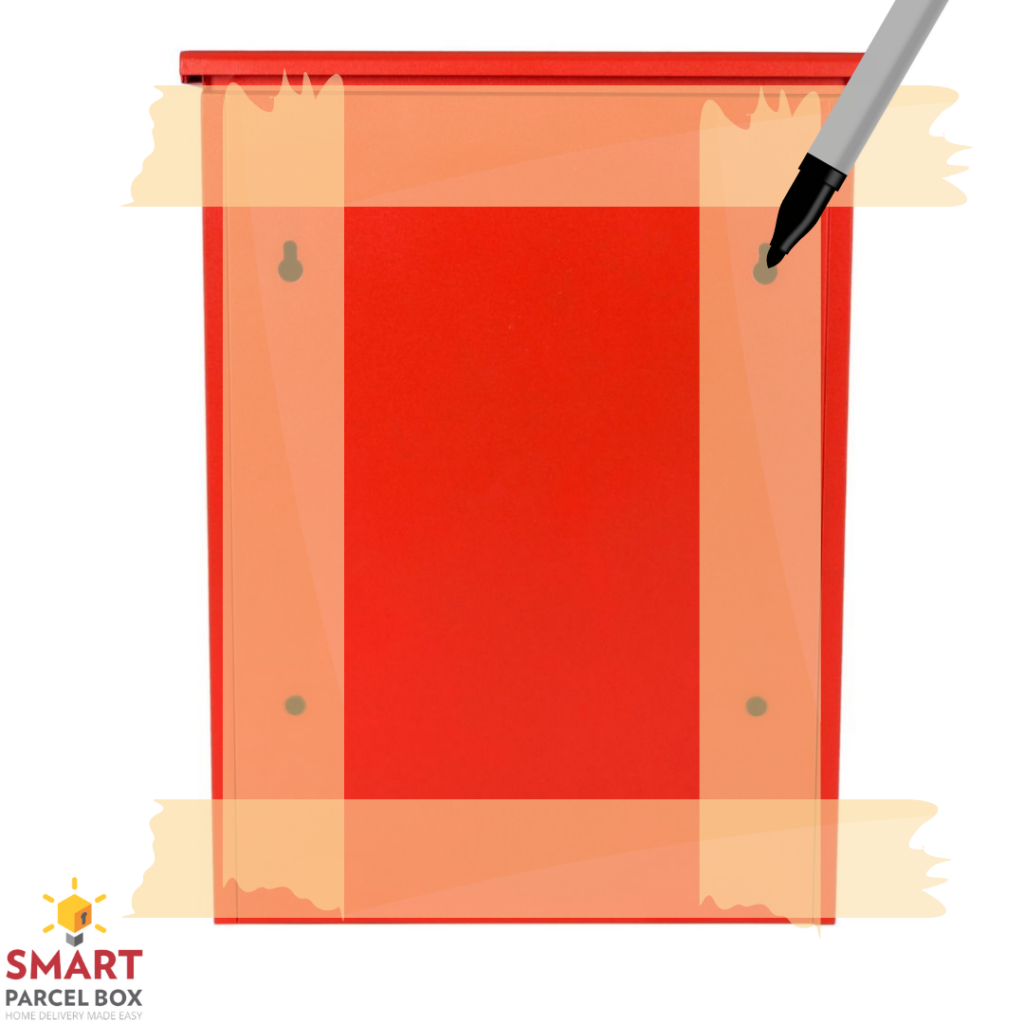
Step 1: Take your medium parcel box, and lie it on its front; we do recommend placing something like a towel between the box and the floor to avoid scratches.
Step 2: Take your duct tape, and run it the length of the back of the box, over the pre-drilled holes. Then, take two more pieces of tape, and run them along the bottom of each tape strip (see right). This will keep the long tape strips the correct distance apart, which will be important later down the line.
Step 3: Take your marker, and draw on the tape where the holes are. Aim to draw to the same size/shape of the hole.
Step 4: Once happy, peel the tape off in one piece. It should still retain its box-like structure as you place this on the wall. This should be done at the approximate height you want the box.
Step 5: Take the provided fittings and compare this against your drill bit. Then, take a bit of tape and mark around the drill bit where the screw head is – this will help you to avoid drilling too deeply into the wall.
Step 6: Now the tape is firmly on the wall, insert your masonry drill bit into the drill. You can then drill to the required depth, stopping at the tape marked on your drill bit.
Step 7: Remove the tape once all holes have been drilled, and insert the wall plugs. You can then proceed to install the Smart Parcel Box.
This method can be similarly used to install on a floor, however, we advise getting two people to help with floor installations.
Installing a New Lock
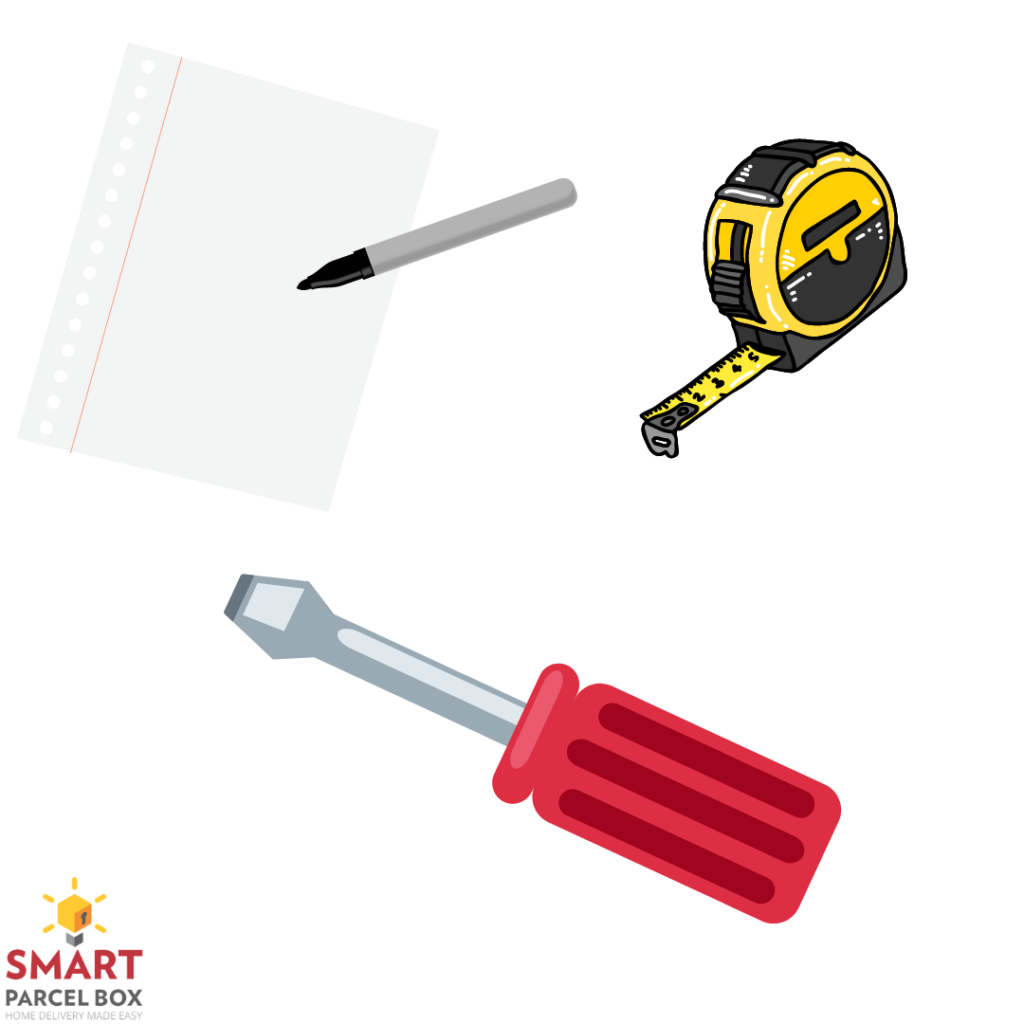
You’ll need:
– A standard screwdriver
– A tape measure
– A pen and paper
As lock sizes may vary between batches, the easiest way to get a secure and correct size is:
- Collect all required items (mentioned above).
- Open your parcel box door. At the rear of the lock, you’ll find a screw – this can be undone with the screwdriver. Proceed to remove the lock from the door of the box.
- Once the screw is removed, pull the lock out, leaving just the hole in the frame. You should then be able to measure this for an accurate lock size.
- Write each measurement down on paper.
- Proceed to purchase a correct sized lock from your retailer of choice, such as Amazon. You can then swap the locks over as needed.
